A dryer vent is an important component that helps to ensure the safe and effective operation of your clothes dryer. With time, the vent accumulates lint, dust and debris, limiting airflow and exposing it to overheating and fire risks. Fire safety experts claim that one of the major causes of household fires is the clogged dryer vents. Cleaning of dryer vents regularly will enhance the performance of the dryer, save on energy bills and increase the life of your appliance.
This guide will teach you how to clean a dryer vent both inside and outside your house with the help of simple tools and easy-to-follow instructions.
Why Cleaning Your Dryer Vent Is Important
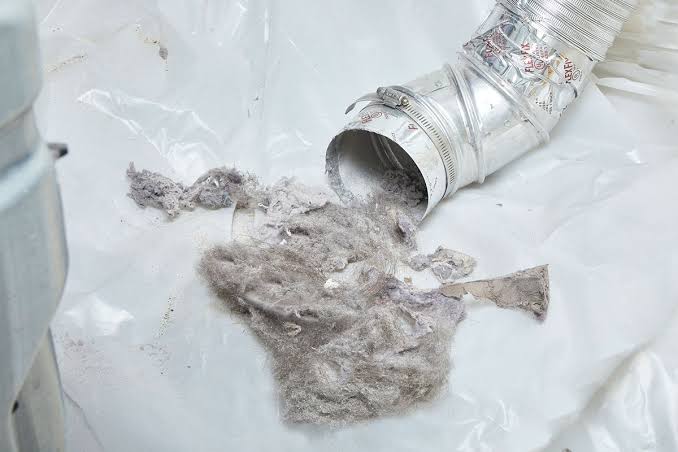
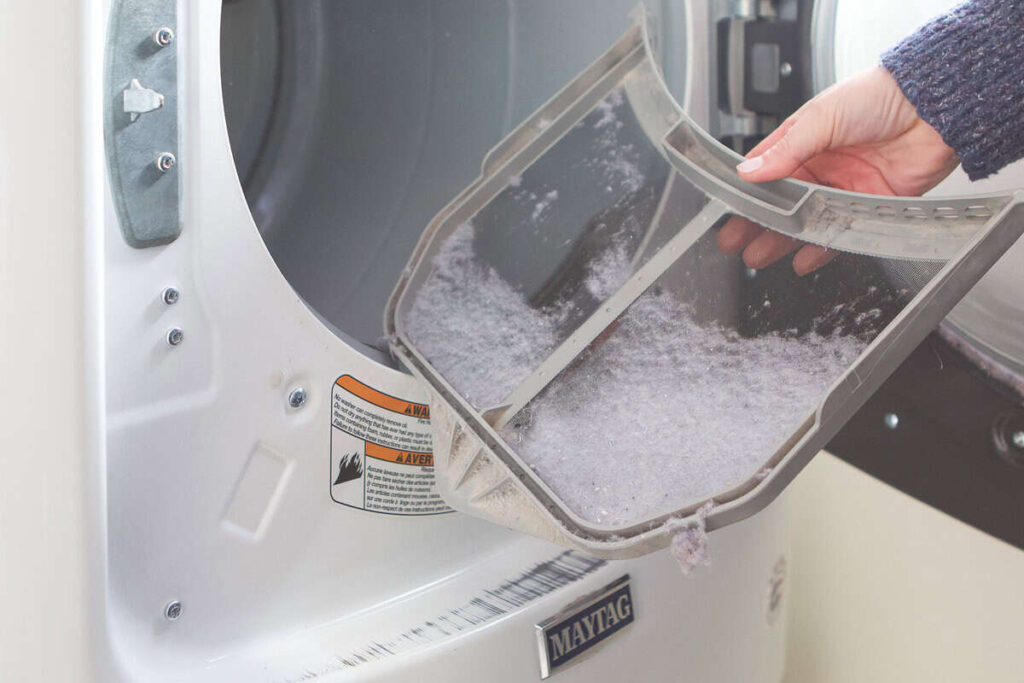
Most house owners empty the lint trap after each wash, but they do not pay attention to the dryer vent. Although the lint filter will trap a high volume of lint, a certain quantity of particles will be carried into the vent system.
A blocked dryer vent may lead to a number of issues, such as:
- Longer drying times
- Increased energy consumption
- Overheating of the dryer
- Overuse and abuse of appliance parts
- Musty odors on clothes
- Increased fire risk.
It is important to clean the vent regularly to maintain the correct airflow to enable your dryer to work safely and efficiently.
Signs Your Dryer Vent Needs Cleaning
Being aware of when your dryer vent needs to be fixed can save you money and avoid accidents.
Be aware of the following typical warning signs:
- Clothes take longer than usual to dry.
- The dryer is abnormally hot when it is running.
- During drying of clothes, there is a burning smell.
- Lint is built up around the dryer.
- There is a problem with the opening of the outdoor vent flap.
- Laundry room humidity increases significantly.
- Clothes do not get completely dry after a single drying cycle.
When you observe any of these, then you need to check and clean the dryer vent.
Tools and Supplies You’ll Need
Before starting the cleaning process, gather the necessary tools and materials:
- Hose vacuum cleaner
- Dryer vent cleaning brush or kit
- Screwdriver
- Microfiber cloth
- Work gloves
- Dust mask
- Flashlight.
The availability of the appropriate equipment will make the cleaning process quicker, easier, and more effective.
How to Clean the Dryer Vent from the Inside
Begin with cleaning the vent in your house.
To begin with, switch off the dryer at the electric socket. When using a gas dryer, make sure that the gas supply is turned off before starting any maintenance.
With care, remove the dryer and reach the vent hose. With a screwdriver, loosen the clamp that holds the vent hose to the dryer. Unscrew the hose and look at it to see if there is lint.
Use a dryer vent brush to remove lint from inside the hose. Insert the brush and rotate it pulling it back out. Do this a few times until you have removed most of the debris.
Then vacuum the inside of the vent hose and dryer exhaust port. A vacuum cleaner can be used to cleanse the hard-to-reach corners of loose lint and dust.
Cleanse the area around with a microfiber cloth and re-attach the hose in the meantime.
How to Clean the Dryer Vent from the Outside
After cleaning the inside part, take it outside to clean the outside vent opening.
Find the dryer vent outlet on the outside wall of your house. Take off any vent cover or protective screen.
Check the opening to see any lint, leaves, dirt or bird nests. These barriers can greatly decrease airflow.
Fit the dryer vent brush into the vent opening on the outside and push it through the duct. Move the brush back and forth to rotate it and loosen the accumulated debris.
Brush, then vacuum to clean out the loosened lint in the vent opening. When possible, a leaf blower should be used to blow out the remaining debris in the vent system.
Ensure that the vent flap opens and closes. An effective vent cover will ensure that no pests and debris get into the duct.
Reassemble and Test the Dryer
Once the ends of the vent have been cleaned, reattach the vent hose to the dryer with the clamp.
Carefully re-insert the dryer, making sure that the vent hose is not kinked or crushed. Even after cleaning, restricted ducts can decrease airflow.
Plug the dryer back in and restore the gas supply if necessary.
Use the dryer with an air-fluff or short drying cycle. Go out and examine the vent opening. You are supposed to find a good airflow out of the vent which means that the blockage has been cleared.
Keep a check on the dryer in the initial cycle to make sure that it is running normally and not overheating.
Dryer Vent Maintenance Tips
Regular cleaning can be used to avoid the accumulation of lint in the future and ensure your dryer is working well.
Follow these best practices:
- Wipe the lint screen with each load.
- Check vent system after every three to six months.
- Conduct an annual complete vent cleaning.
- Avoid overloading the dryer.
- Where possible use rigid or semi-rigid metal vent ducts.
- Test the exterior vent cover frequently to see if it is blocked.
- Arrange professional cleaning of long or complicated vent systems.
Regular maintenance does not only increase the efficiency of the dryers, but also increases the safety of the homes and reduces the energy expenses.
Drying vent cleaning both indoors and outdoors is a crucial home maintenance activity that enhances efficiency, shortens drying time, and lowers fire hazards. You can also keep your dryer running at its best and increase its life by cleaning out the vent system of lint and debris.
Most homeowners can do this task themselves with the right tools and some time. Dryer vent cleaning should be a regular household maintenance practice to enjoy safer operation, reduce utility bills and improved drying performance all year round.